
Planning a van conversion is exciting, but one of the first questions people ask is how long the process will actually take. A full build is more involved than most expect, with each phase relying on the previous one being done correctly. Understanding the true van conversion timeline helps set realistic expectations, reduces stress, and keeps the entire build moving without unnecessary delays.
Depending on design complexity, parts availability, and how quickly decisions are made, conversions can range widely. Many professional builders complete full custom builds in about three months, but the timeline can stretch if components with long‑leadtimes need to be sourced or if major design changes occur mid‑process. Clear communication, strong planning, and flexibility all play major roles in keeping your project running smoothly.
Below is a detailed breakdown of the phases involved in a van build, what happens in each stage, and how they all connect.
TL:DR Summary
- Most full van conversions require around three months of active build time.
- The biggest variables are design decisions, parts availability, and long‑lead exterior components.
- Establishing a solid layout early prevents expensive and time‑consuming redesigns.
- The sequence matters: wiring must happen before insulation, insulation before paneling, and so on.
- Preparation, communication, and flexibility help keep the timeline on track.
Why Having a Clear Design Up Front Keeps the Timeline Steady
Before any tools come out or orders get placed, the build begins with design. This step determines every other part of the project. When the layout, electrical plan, plumbing routes, and storage needs are well‑defined early on, the rest of the build becomes a guided series of steps instead of a guessing game.
Builders often note that unexpected mid‑project design changes are one of the biggest causes of delays. When a change affects wiring, cabinetry, or structural components, it can require rework. A solid design keeps things moving predictably and prevents those setbacks.
Key Factors That Influence the Van Conversion Timeline
A van build isn’t just about the hands‑on work. Several outside and upstream factors can shorten or extend the overall timeline.
Parts Availability and Long‑Lead Items
Certain components regularly take weeks or even months to arrive. Planning for these early helps avoid stalled progress. Common long‑lead items include:
- Windows
- Roof racks
- Awnings
- Exterior storage boxes
- Fridges and specialty appliances
Ordering these as soon as the design is finalized helps keep the build from pausing while waiting for deliveries.
Scope and Complexity of the Build
More complex systems naturally require more time. A simple weekender buildout moves faster than a fully off‑grid rig with lithium power, elaborate cabinetry, and integrated plumbing.
Decision‑Making Speed
When decisions pile up without clear direction, the timeline stretches. Quick approvals on materials and components keep momentum high.
Communication Between Builder and Client
Up‑front clarity helps avoid mid‑build questions that slow progress. When everyone is aligned, work keeps flowing instead of stopping to re‑evaluate.
The Full Van Conversion Timeline (Phase by Phase)
Below is a breakdown of a typical three‑month timeline following the general sequence used by many professional builders.
Preliminary Design: Setting the Direction
This first stage shapes the entire project. The goal is to explore layout ideas, discuss travel style, and identify how the van will be used. It’s the time to think about sleeping orientation, seating needs, workspace options, gear storage, and electrical capacity.
Clear decisions here create a build plan that prevents costly changes later.
Final Design: Locking in the Details
Once the concept is settled, the final design stage produces exact measurements, wiring diagrams, and plumbing routes. This is where small details matter. Knowing the location of every outlet, water tank, light fixture, and vent makes the build predictable and efficient.
When the final design is settled early, the rest of the timeline benefits.
Procurement: Ordering the Essentials
With the final design approved, the ordering begins. Some parts arrive quickly, while others take time. Starting procurement immediately prevents delays later in the build.
This phase often runs in parallel with design revisions. The earlier long‑lead items are purchased, the smoother the timeline becomes.
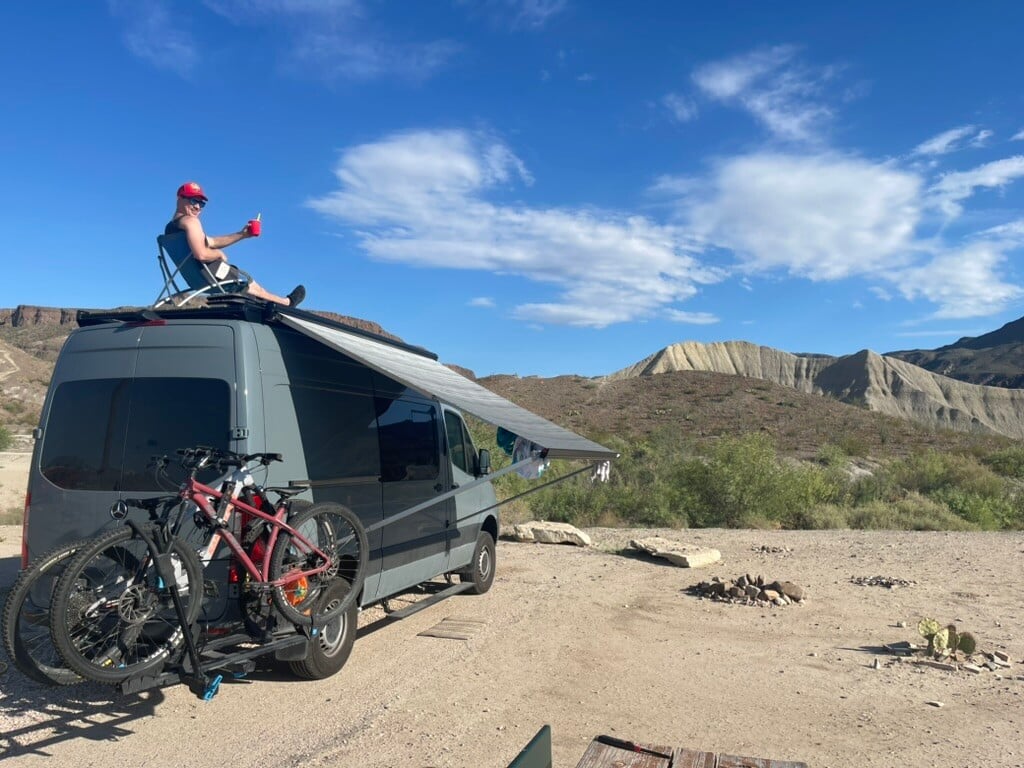
Exterior Component Installation: Everything That Must Happen First
Before interior work can begin, exterior modifications come first. Cutting into the van for windows, mounting roof racks, or installing awnings has to happen before wiring, insulation, and interior paneling.
This step sets the foundation for the interior systems and ensures everything inside fits and functions correctly.
Pre‑wire: Getting the Electrical Pathways in Place
Once the exterior work is complete, electrical pre‑wiring begins. This is one of the most important sequencing stages. Builders need unrestricted access to the van’s interior structure to route wires for:
- Lights
- 12V outlets
- 120V circuits
- Solar panel connections
- Battery systems
- Fans and appliances
Running wiring after the walls or ceiling go up is nearly impossible, so timing this correctly is essential.
Insulation: Sealing the Shell
With wiring in place, insulation goes in next. The type of insulation varies depending on climate goals, but the focus is always on temperature control and sound reduction.
Insulation must follow pre‑wiring to avoid covering or blocking wire paths.
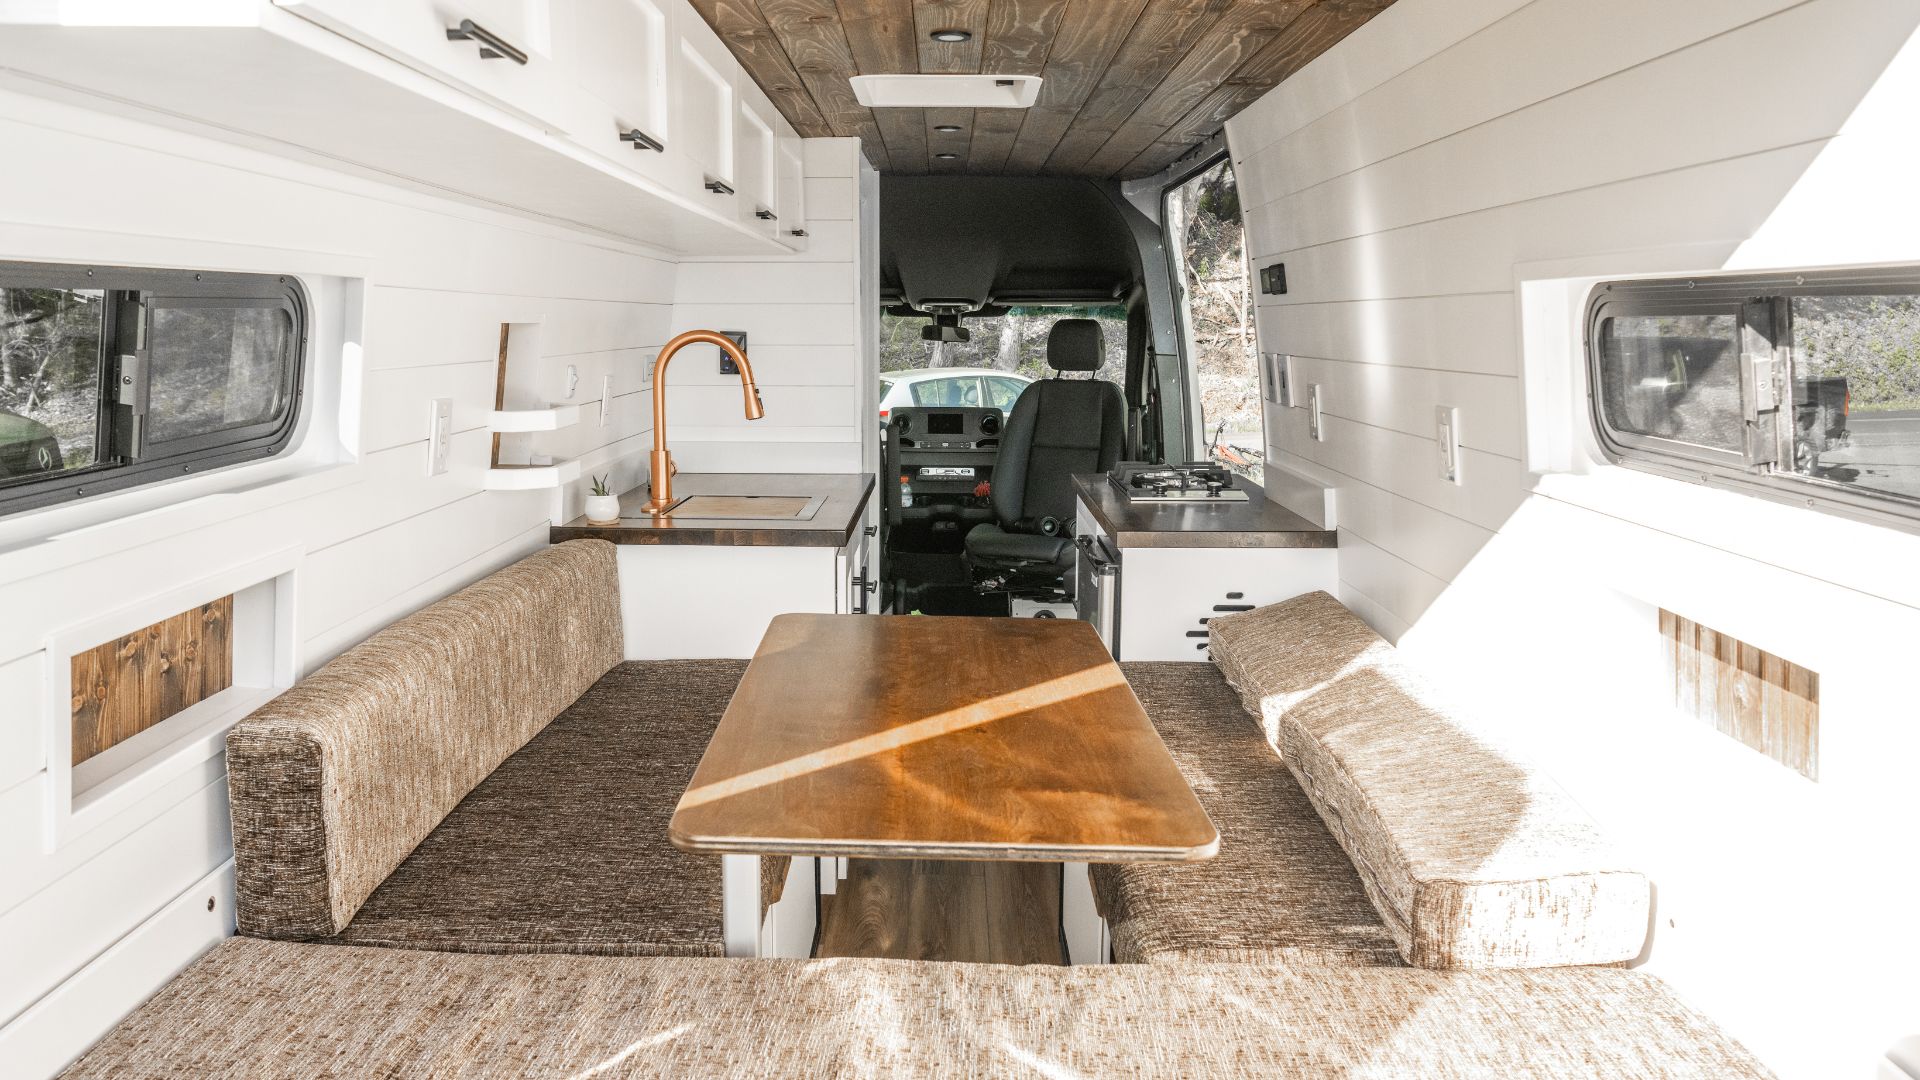
Fabrication: Building Out the Interior
Fabrication is usually the longest part of the build. This is where the van transforms from an empty shell into a functional home. Tasks may include:
- Cabinetry and furniture framing
- Bed platform construction
- Plumbing installation
- Electrical routing and panel mounting
- Flooring installation
- Ceiling and siding
The pace here is driven by craftsmanship, complexity, and any final decisions on finishes.
Electrical Rough‑In: Bringing the System to Life
After the main structures are installed, the electrical system can be connected. This is when components such as batteries, inverters, fuse panels, and breakers are integrated.
Once everything is wired and connected, the system can be tested before finishing touches are added.
Finish Work: Final Touches Before the Van Rolls Out
Finish work brings the project together. Trim, hardware, cushions, lighting adjustments, and final fit‑and‑finish details are all completed here.
It’s also the stage where quality checks catch anything that needs refining.
Completion: Testing, Walkthrough, and Delivery
Once the van is complete, every system is tested to ensure it’s ready for the road. Water lines are checked, electrical systems are run under load, cabinet doors are adjusted, and all components are inspected for performance.
After testing, the final walkthrough happens. Clients learn how all the systems work, ask questions, and prepare for the adventures ahead.
FAQs
How long does a full custom van conversion take?
Most complete builds take around three months, depending on design complexity and parts availability.
What causes delays in a van conversion timeline?
Common causes include slow parts delivery, design changes during the build, and unclear specifications.
Can I speed up the conversion process?
Quick decision‑making, early ordering of long‑lead items, and a finalized design at the start all help maintain momentum.
What is the most time‑consuming part of the build?
Fabrication usually takes the longest due to the amount of custom work required.
Key Takeaways
- A successful van conversion depends on clear design, good communication, and thoughtful planning.
- Most full builds take roughly three months.
- Long‑lead items, design decisions, and build complexity all influence the final timeline.
- Following a logical build sequence keeps the process organized and efficient.
- Understanding the phases helps set realistic expectations and makes the journey smoother.

.jpg)