.jpg)

A van conversion project can open the door to freedom, adventure, and a uniquely mobile lifestyle. Whether the goal is weekend escapes or full-time living on the road, transforming a bare van into a functioning camper requires more than enthusiasm and a few tools. From selecting the right van and defining your travel style to laying out your power and plumbing systems, every step demands thoughtful planning. One often-overlooked truth is that DIY conversions frequently take longer, cost more, and require more problem-solving than originally anticipated. A well-prepared plan helps avoid costly surprises, wasted time, and regrets.
TL;DR Summary
- Define your purpose and travel style before buying or converting.
- Set a realistic budget including hidden costs and permit/licensing expenses.
- Choose the right van (size, weight rating, maintenance viability).
- Plan your layout, insulation, ventilation, and systems (electrical, plumbing).
- Check safety regulations, vehicle weight limits, and compliance.
- Factor in long-term maintenance, resale value, and usability.
- Accept that DIY conversion often demands more time and effort than you expect—budgeting a buffer is wise.
1. Clarifying Purpose and Travel Style
Before pulling out tools or picking up plywood, it’s essential to answer: Why am I doing this? Are you building for weekend camping, seasonal road trips, or full-time van life? Will you visit remote off-grid locations or stick to established campsites? Your answers to these questions shape nearly every other decision.
A weekend camper may not need heavy insulation, a large battery bank, or high-end plumbing, while a full-time traveler likely needs insulation rated for extreme temperatures, a larger power and solar system, and robust water capacity. Clarifying purpose helps prevent scope creep, a common DIY trap where small upgrades snowball into costly projects.
Key questions to ask:
- How many people (and pets) will use the van?
- What climates and terrains will you encounter?
- How long will you be on the road at a time?
- Do you need workspace, a full bathroom, or a minimalist design?
- Will you convert fully DIY, hire out parts, or buy a ready-made conversion?
Locking in your purpose early helps avoid mismatched builds and wasted effort.
2. Setting a Realistic Budget (and Agreeing to Its Flexibility)
Budgeting is foundational—but many DIY builders underestimate the “little things” and the time cost. When setting your budget:
- Include cost of the base vehicle, inspections, repairs, registration, and insurance.
- Break down costs by system: van purchase, insulation, flooring, walls, electrical, plumbing, heating, furnishings, and finishes.
- Add a contingency buffer (10–20% or more) for unexpected issues like rust, wiring challenges, or permit costs.
- Estimate your time cost: DIY labor hours, delays, and tools you may need to buy or rent.
- Consider ongoing costs like maintenance, insurance, and fuel efficiency.
Budgeting with flexibility helps avoid the common DIY outcome of finishing half-done systems or going over schedule.
3. Choosing the Right Van (Size, Weight & Maintenance)
Your van’s make, model, size, and base condition set the stage for the rest of your conversion. A poor choice here adds major cost and frustration later.
Key factors:
- Size & roof height: Taller vans give more living space but are harder to park and require more insulation.
- Gross Vehicle Weight Rating (GVWR): Determines how much you can safely add in weight. Exceeding it can invalidate insurance or damage suspension.
- Mechanical condition: Some vans have higher maintenance costs or fewer service centers in remote areas.
- Parts and aftermarket support: Common vans have easier-to-find replacement parts.
- Climate and terrain suitability: 4WD or higher clearance may be essential for off-grid travel.
- Resale market: Popular models tend to hold value better.
|
Van Type / Model |
Pros |
Cons |
|
Large high-roof cargo van |
Full stand height, more space |
Higher cost, more fuel, harder to park |
|
Medium-size transit van |
Balanced size, easier parking |
Less room for full layouts |
|
Older used van |
Lower upfront cost |
Possible hidden mechanical issues |
|
New van |
Reliable condition |
Expensive upfront, risk of overbuilding |
Choosing wisely at this stage reduces headaches later.
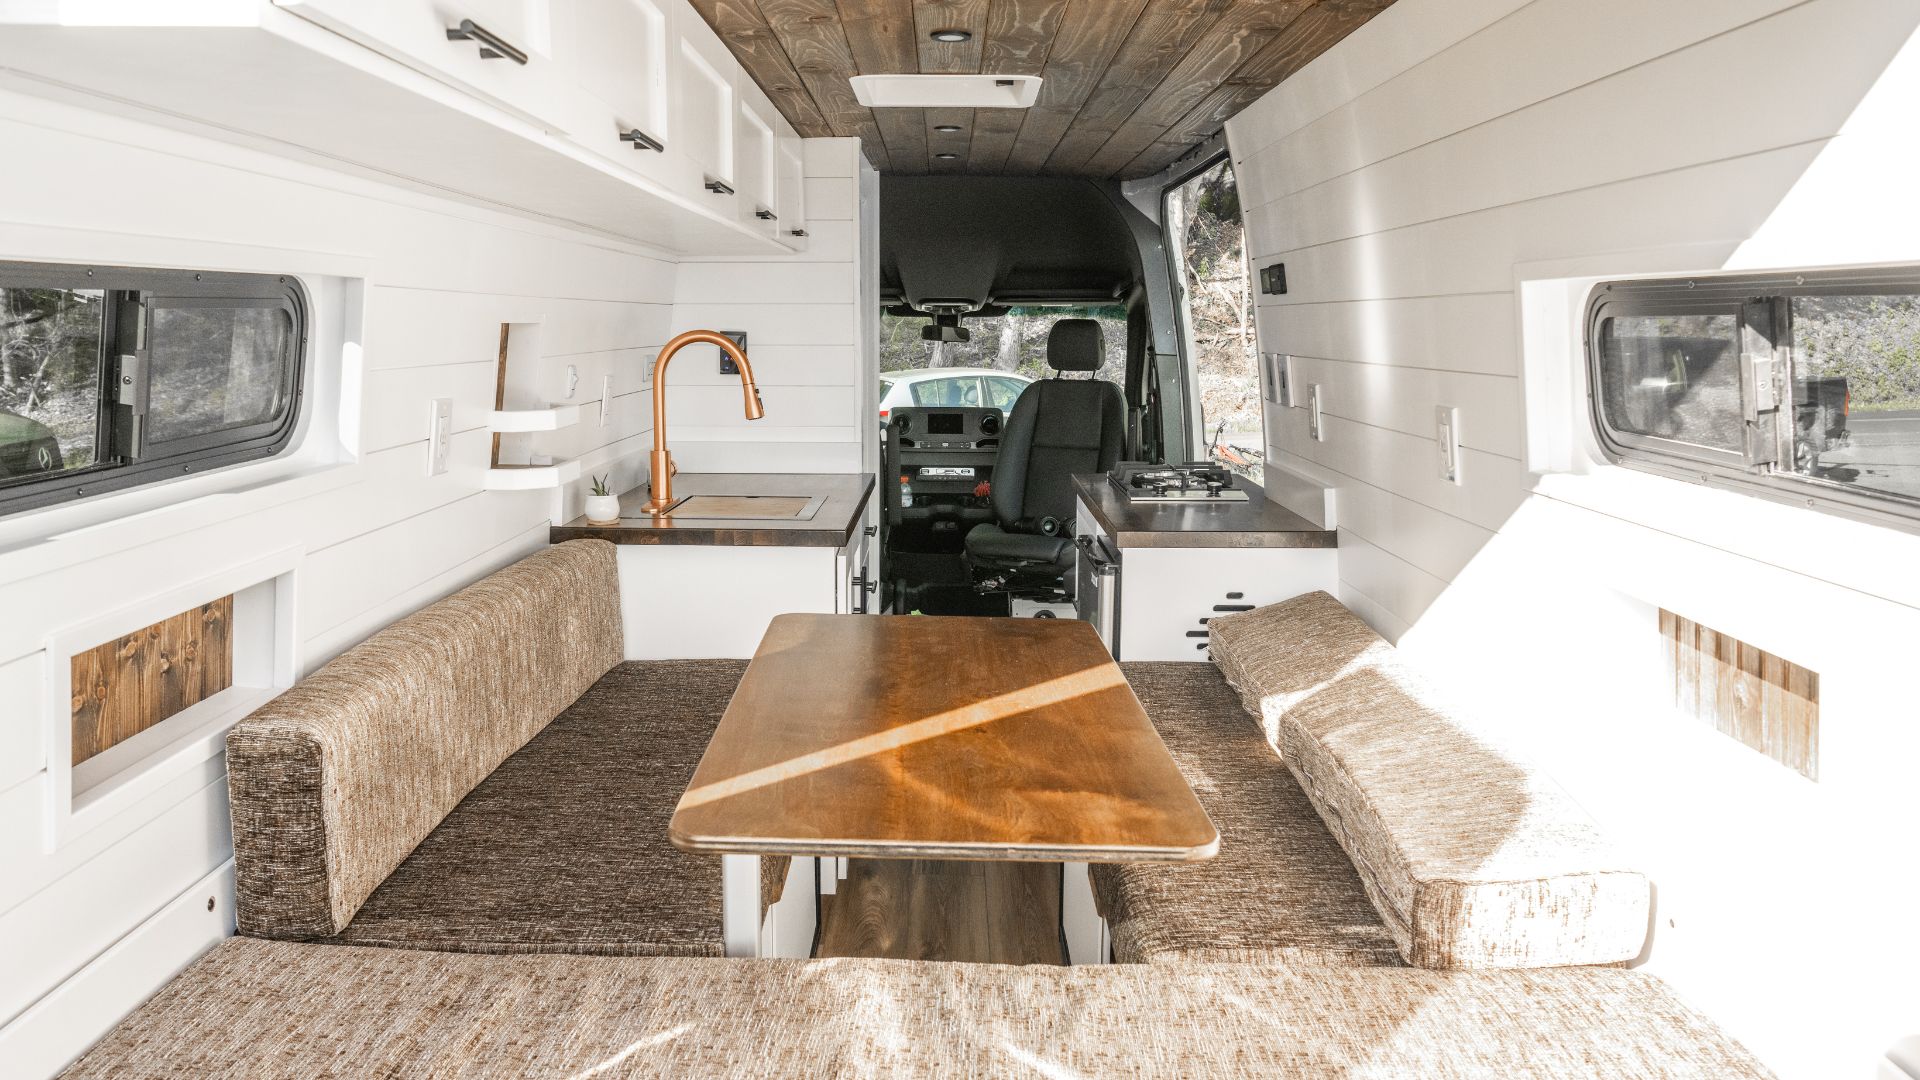
4. Layout, Insulation & Climate Control
Once you have the right van, you need to design your interior for functionality and comfort. Layout and insulation affect how livable and efficient your van will be.
Layout planning:
- Measure your interior precisely, including curves and wheel wells.
- Mock up your layout using cardboard or painter’s tape.
- Prioritize flow between sleeping, cooking, and storage areas.
- Think about real-life use: movement, door access, and storage.
Insulation & ventilation:
- Proper insulation regulates temperature and reduces condensation.
- Choose materials suited to your climate (foam board, spray foam, Thinsulate, etc.).
- Include ventilation through roof fans or windows to maintain air quality.
- Plan heating and cooling early—adding them later is costly.
Smart layout and insulation choices save energy, improve comfort, and make long trips far more enjoyable.
5. Power, Plumbing & Technical Systems
These are often the most complex and expensive parts of any build—and where many DIYers underestimate difficulty.
Electrical systems:
- If traveling off-grid, plan a full setup: batteries, inverter, solar panels, and fuse protection.
- Estimate your power draw (fridge, lights, outlets, devices, heater).
- Follow proper wiring safety standards and plan wire routes early.
Plumbing systems:
- Plan water supply, grey water, and waste management early.
- Include a pump, filter, and tanks sized to your travel needs.
- Factor in venting, drainage, and access for maintenance.
Heating and cooling:
- Choose systems (diesel, propane, or electric) suited to your climate and power capacity.
- Test all appliances before final install to prevent costly rework.
Proper planning here prevents the most common DIY pitfalls: electrical faults, leaks, and rework.
6. Safety, Regulations & Long-Term Maintenance
Safety, maintenance, and compliance are often afterthoughts in DIY conversions, but they should be front and center.
Safety:
- Stay within GVWR weight limits.
- Fuse all electrical circuits and secure furniture properly.
- Include fire extinguishers, smoke and CO detectors, and adequate ventilation.
Regulations:
- Some regions require reclassification from cargo van to motorhome after conversion.
- Verify insurance coverage and local safety standards before you begin.
- Keep records of work and materials for inspections or resale.
Maintenance:
- Expect regular upkeep of mechanical and living systems.
- Design with easy access for repairs and replacements.
- Quality craftsmanship holds resale value and reduces repair frequency.
Ignoring these areas can result in safety risks, denied insurance claims, or legal complications.
7. Time, Effort & Realistic Expectations
Here’s the truth: DIY van conversions usually take much longer and cost more than expected. Motivation at the start is high, but delays are common—waiting for parts, fixing mistakes, or redoing systems.
To stay on track:
- Build in phases: insulation, systems, cabinetry, then finishes.
- Outsource specialized tasks (electrical or plumbing) if needed.
- Order materials early and maintain a “punch list” of open tasks.
- Set a target completion date and work toward functionality over perfection.
DIY van builds can be deeply rewarding, but they demand persistence, flexibility, and humility. Understanding that reality from the start helps you reach the finish line with your enthusiasm intact.
Frequently Asked Questions
Q: How much does a van conversion cost?
Costs vary widely, but even modest builds can exceed $15,000–$20,000 when materials, tools, and hidden issues are factored in.
Q: How long does a DIY conversion take?
Anywhere from several weeks to many months, depending on skill level, budget, and available time.
Q: What are the biggest mistakes people make?
Underestimating time and costs, poor insulation, ignoring weight limits, and failing to plan electrical or plumbing systems early.
Q: Should I hire professionals for parts of the build?
For complex systems like electrical or plumbing, hiring a professional can save both time and money in the long run.
Q: Will a DIY van hold resale value?
Yes, if it’s built safely, well documented, and high quality. Sloppy or incomplete builds depreciate quickly.
Summary
- Define purpose and travel style early.
- Budget realistically with buffers for time and cost.
- Choose the right van size, weight, and serviceability.
- Design smart layouts and insulation systems.
- Plan power, plumbing, and heating carefully.
- Prioritize safety, compliance, and maintenance.
- Be realistic about the time and effort involved.
By considering these key factors before starting, you’ll build with confidence, reduce costly surprises, and end up with a van that truly fits your lifestyle.